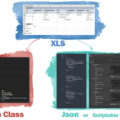
This section describes how to use the tool 'XlsToJson'.
Create a table in Excel
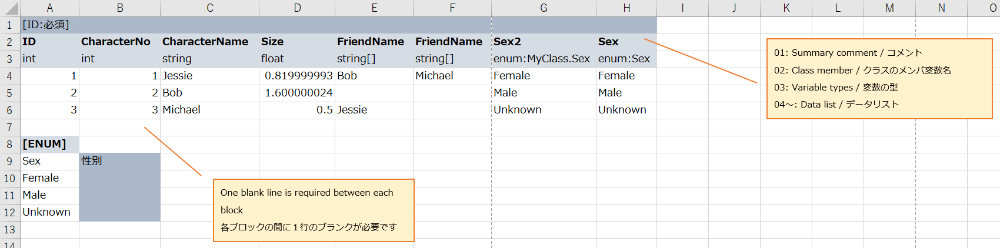
Create a table in Excel.
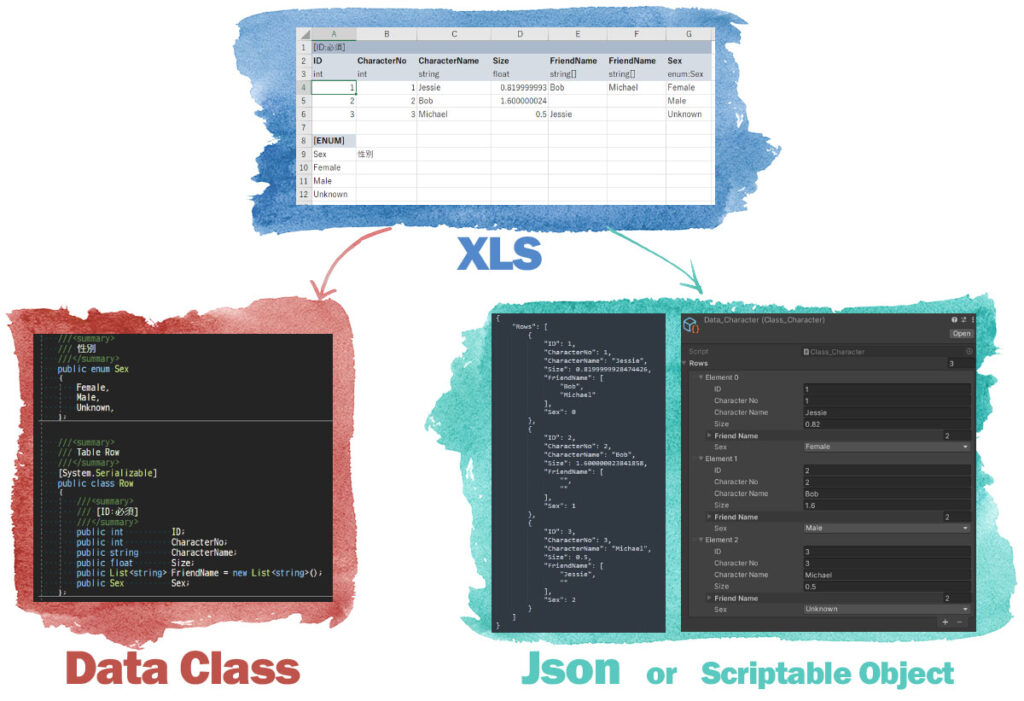
- Table (class) member
- Member type(int, long, float, double, decimal, string, bool, enum, const)
- Data (yellow area)
Tables are defined in this order. One Excel sheet is one table.
The yellow part is a row = a instance (Row), accessing all data as List.
Note: that the sample Excel has been colored and bolded for clarity, but is not actually necessary.
List<Class_Character.Row> rows = Character.Rows;
rows[1].CharacterName = "Bobby";  // Changed Bob -> Bobby
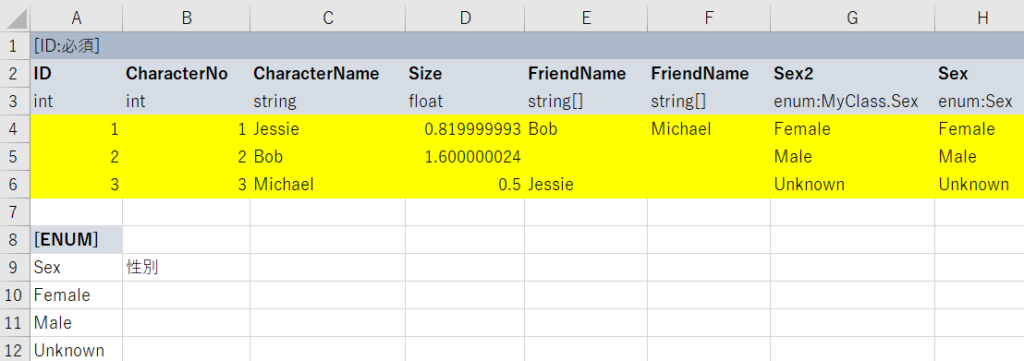
Member 'ID' is required
XlsToJson specification; be sure to place the ID(int) field and assign a non-duplicate number.
If you are experienced with SQL, it may be easier to understand if we say that it is an auto-number field.
Declare members as arrays (List type) by appending [].
The type of FriendName is string[]. Declaring it this way allows access to rows[0].FriendName[0] (Bob), rows[0].FriendName[1] (Michael) and so on.
Declare an enumeration type with 'enum:[enum name]'.
Create an enum under the table after declaring it as 'enum:Sex'.
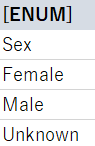
The first line [ENUM] is the declarator, the second line is the enum name, and the third and subsequent lines are enum members.
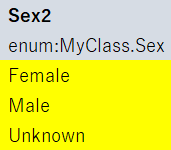
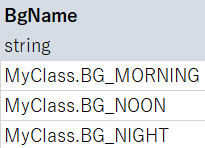
What about enums declared in other classes?
In that case, use [class name.enum name] as in 'enum:MyClass.Sex'. There is no need to declare the enum in Excel.
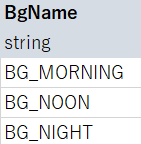
Declaration of const value
The declaration is similar to an enum, but you must also set the value.
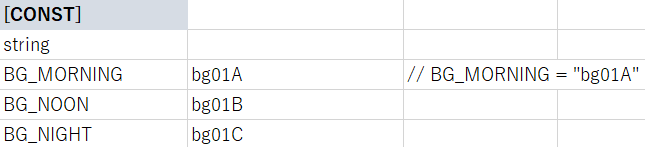
As with enum, for declarations in other classes, use [class name.const name].
Subclasses are also supported
What about a data class like this?
///<summary>
/// Table Row
///</summary>
[System.Serializable]
public class Row
{
    ///<summary>
    /// [ID:Required]
    ///</summary>
    public int       ID;
    ///<summary>
    /// SubClass
    ///</summary>
    public SubClass  SubClass = new SubClass();
}

///<summary>
/// SubClass
///</summary>
[System.Serializable]
public class SubClass
{
    public int       Member0;
    public int       Member1;
    ///<summary>
    /// ChildClass
    ///</summary>
    public Child     Child = new Child();
}

///<summary>
/// ChildClass
///</summary>
[System.Serializable]
public class Child
{
    public int       Member;
}
This can be expressed by adding a comma-separated list of class names.

For subclasses, classes declared in other classes cannot be used.
I want to create multiple tables of the same class.
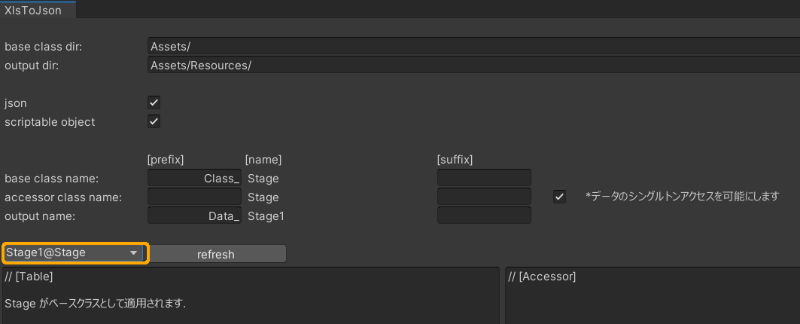
For example, Stage1, Stage2, Stage3… and you want to create multiple tables, name the Excel sheet [Stage Name]@[Class Name], as in Stage1@Stage.

At this time, the table members and types must match exactly. If they do not match, an error occurs and processing is aborted.

It is possible to verify that the base class has been applied correctly before CREATE Importer.
Success is indicated when the Class Table display area shows "~ is applied as the base class".
Prepare to create DataClass, Json(Scriptable Object)
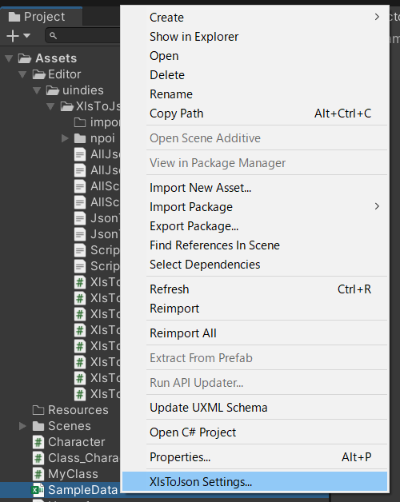
Place the created Excel file under 'Assets/', select the file in the Project window and right-click > XlsToJson Settings… Select "XlsToJson Settings…".

1: base class dir
Specify the directory to output DataClass.
2: output dir
Specify the directory to output Json data or Scriptable Objects.
3: File type you want to output
Basically, there is no problem if both are checked, but if only Json is used, uncheck Scriptable Object.


4、5: Class and file name prefixes and suffixes
Prefixes and suffixes can be added to class and data file names.
(You can leave the defaults as they are.)
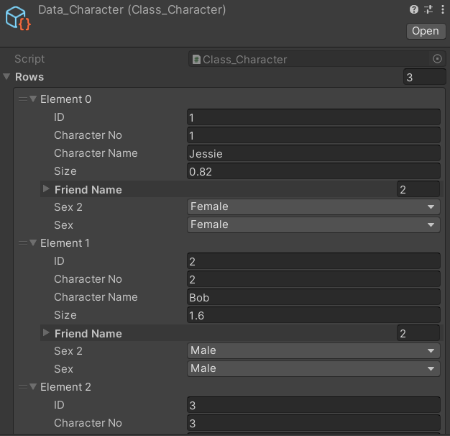
For example, the Character sheet looks like this table.
Check how this table is converted.
Class_Character
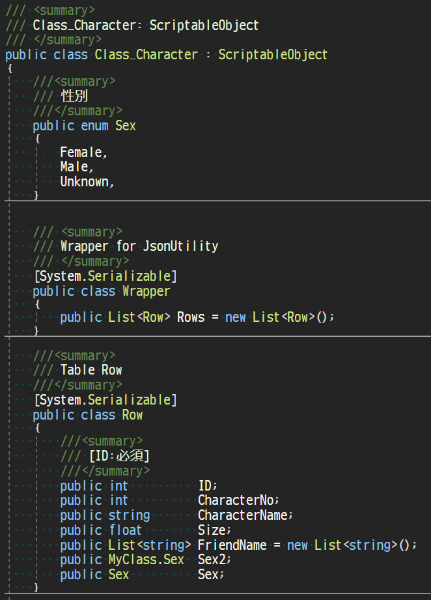
Data class, where Row accesses a single horizontal column of a table and List accesses the entire table.
Other information set up in Excel, such as enum, is also created.
Character
Operation using Class_Character is cumbersome, as it requires the instance to be static or a DontDestroy object so that it can be accessed by all scenes.
This class, called accessors, eliminates that inconvenience.
Below is the code without and with use.
(without accessor)
var jsontext = Resources.Load<TextAsset>("Data_Character");
var data = Class_Character.CreateInstance();
data.SetRowsByJson(jsontext.ToString());
(with accessor)
var jsontext = Resources.Load<TextAsset>("Data_Character");
Character.SetTable(jsontext);
The "data" instance is no longer needed, and the data can be accessed from anywhere in the "Character" class.
There is no need to attach this Character class to a GameObject.
Note that this accessor is singleton, so multiple instances cannot be accessed.
If you do not use it, uncheck box ⑤.
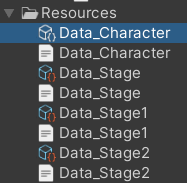
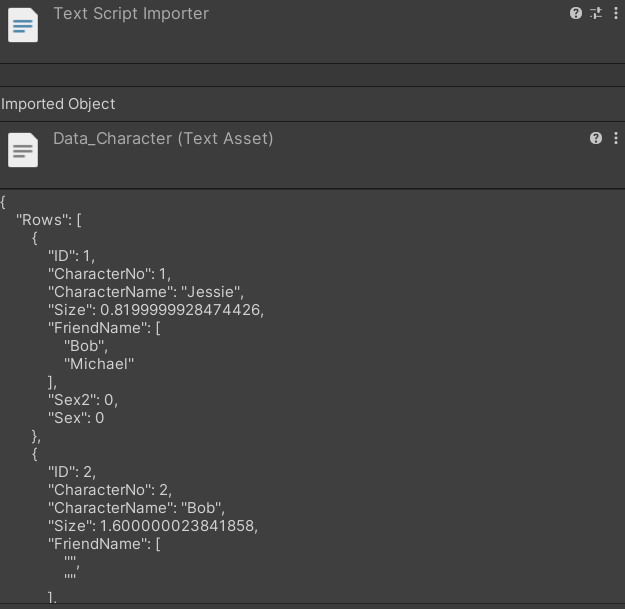
Data_Character
Json or Scriptable Object file name.
Data_Character.txt for Json or Data_Character.asset for Scriptable Object.
(How to create them is explained in the next section.)
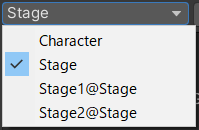
6: Preview
You can preview the DataClass that will be created.
You can change the table (sheet) in the drop-down list.
7: CREATE Importer
DataClass, create an import class to generate data.
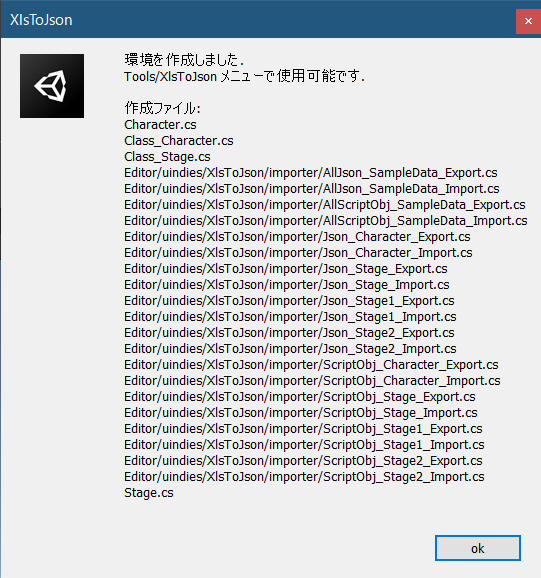
The sample will look like this. There are many, but most are importer classes under 'Editor/' and are not used directly.

Create Json (Scriptable Object)
Tools > XlsToJson > SampleData.xlsx > Create JsonData(ScriptableObject) will create a file under 'Resources/'.
Access from program
Create a GameObject and attach 'UsageAccess'.
The following is an excerpt of the code. After reading and SetTable, the data can be used.
(Json)
var jsontext = Resources.Load<TextAsset>("Data_Character");
Character.SetTable(jsontext);
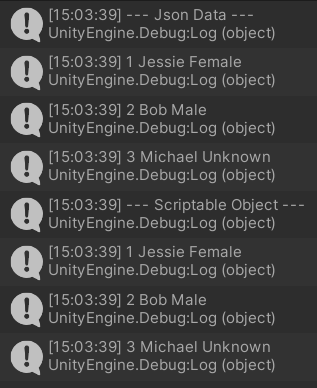
Character.Rows.ForEach( (row) => Debug.Log($"{row.ID} {row.CharacterName} {row.Sex}") );
(Scriptable Object)
var obj = Resources.Load<Object>("Data_Character");
Character.SetTable(obj);
Character.Rows.ForEach( (row) => Debug.Log($"{row.ID} {row.CharacterName} {row.Sex}") );
Results are displayed in the console.
When not using an accessor
See the UsageTable class here.
In this case, an instance of 'data' must be managed so that it can be retrieved from anywhere and at any time.
(This is the best choice if you need several instances at once, for example, to load all the data for 5 stages.)
(Json)
var jsontext = Resources.Load<TextAsset>("Data_Character");
var data = Class_Character.CreateInstance();
data.SetRowsByJson(jsontext.ToString());
Character.Rows.ForEach( (row) => Debug.Log($"{row.ID} {row.CharacterName} {row.Sex}") );
(Scriptable Object)
var obj = Resources.Load<Object>("Data_Character");
var data = obj as Class_Character;
Character.Rows.ForEach( (row) => Debug.Log($"{row.ID} {row.CharacterName} {row.Sex}") );